How to Remove Grease from a Stainless Steel Kitchen Sink?
A stainless steel kitchen sink is a durable and hygienic centerpiece in any modern kitchen, yet it is constantly exposed to a challenging enemy: grease. From oily pans to food scraps, grease can quickly accumulate, leaving a dull, sticky film and visible streaks that detract from the sink's sleek appearance. More importantly, this grime can harbor bacteria. Effectively removing this buildup requires more than just a quick rinse; it demands a targeted approach with the right kitchen cleaner. Whether you prefer a natural DIY solution or a powerful commercial product, this guide will walk you through the best practices for restoring your sink's shine and hygiene using an appropriate kitchen sink degreaser.
Understanding the Challenge: Why Grease Sticks to Stainless Steel
Stainless steel, while non-porous, has microscopic grooves from the manufacturing process. Grease and oils readily adhere to these tiny ridges, creating a film that water alone cannot displace. This film attracts water minerals and soap scum, leading to spots and a loss of luster. Using an abrasive scrubber or the wrong chemical can scratch the surface or damage the protective chromium oxide layer. Therefore, selecting the correct kitchen grease cleaner is paramount—one that emulsifies the grease without harming the metal.
Method 1: The Effective DIY Paste (Gentle yet Powerful)
For regular maintenance or light-to-moderate grease, a homemade paste is highly effective and eco-friendly. It combines the degreasing power of dish soap with the gentle abrasive and deodorizing properties of baking soda.
Instructions:
Begin by rinsing the sink with hot water to loosen surface debris.
Sprinkle a generous amount of baking soda directly over the damp, greasy areas, particularly around the drain and basin.
Add a few drops of concentrated dish soap onto the baking soda.
Using your fingers or a soft cloth, mix them into a thick, spreadable paste directly on the sink's surface. The baking soda acts as a carrier for the soap's surfactants, which break down the grease.
Allow this natural kitchen grease remover paste to dwell for 5-10 minutes. The dwell time is crucial for the chemistry to work.
Scrub gently with a non-abrasive sponge or a dedicated soft-bristled sink brush, always following the sink's grain (the visible brushed lines) to prevent scratches.
Rinse thoroughly with hot water, ensuring all residue is washed down the drain.
Buff dry immediately with a clean microfiber cloth to prevent water spots and restore a brilliant shine.
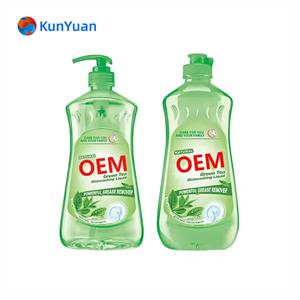
kitchen cleaner

kitchen degreaser
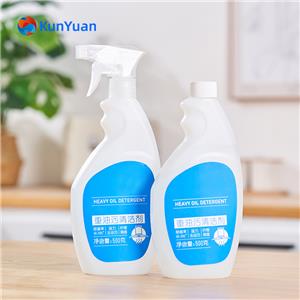
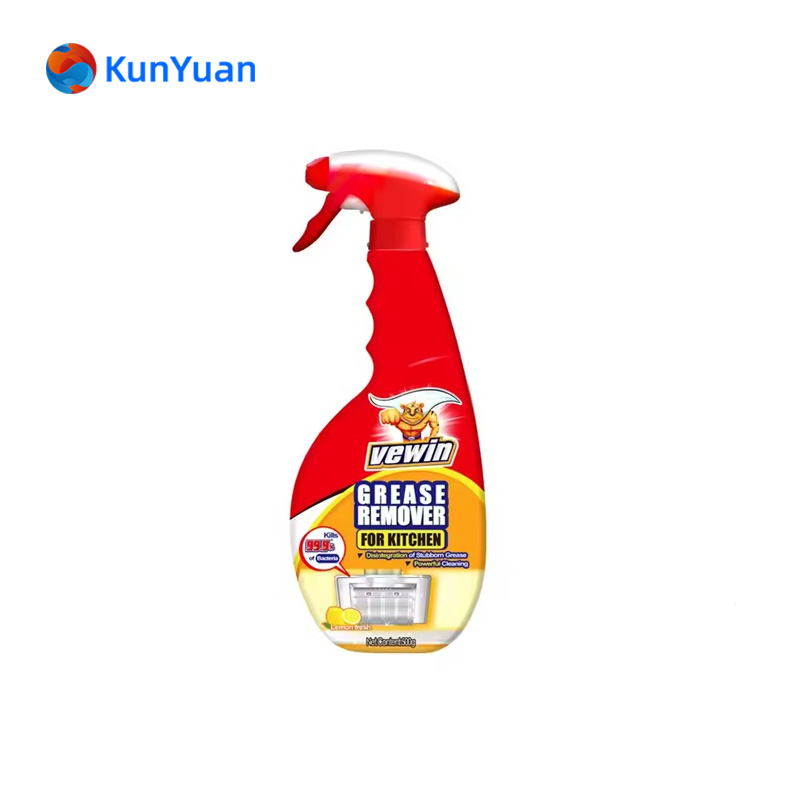
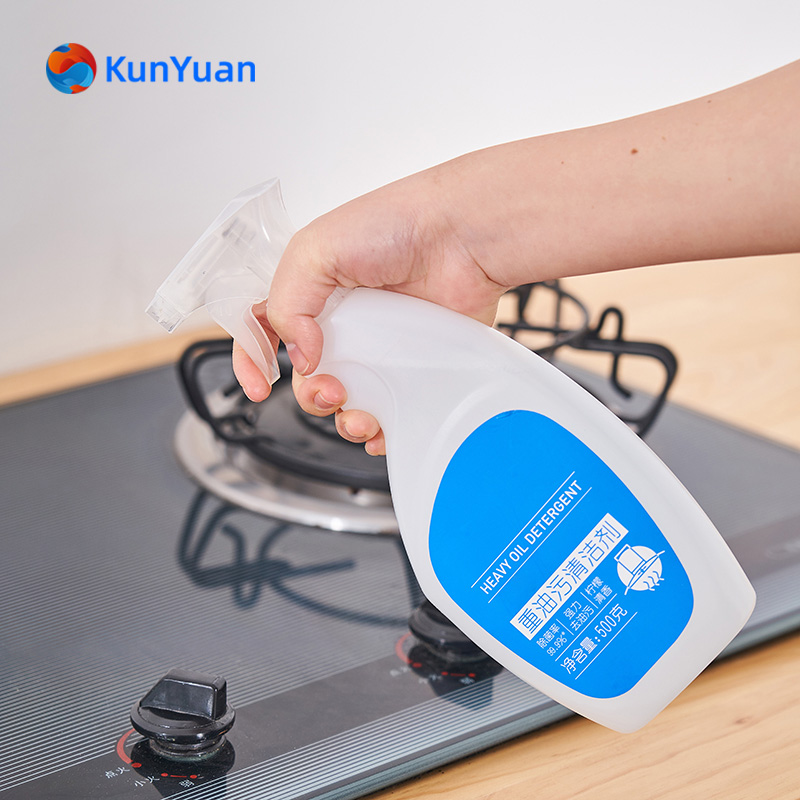
Method 2: Using a Commercial Stainless Steel Safe Degreaser
For heavy, baked-on grease or for a faster solution, a dedicated commercial product is recommended. Look for a formula explicitly labeled as safe for stainless steel. These kitchen degreaser sprays are engineered to cut through tough grease quickly without corrosive acids that can pit the metal.
Instructions:
Ventilate the area and put on gloves if the product recommends it.
Spray the commercial kitchen sink degreaser evenly over the greasy surfaces, ensuring good coverage. Avoid spraying directly onto faucet mechanisms.
Observe the dwell time specified on the product label, typically 2-5 minutes. This allows the powerful surfactants and solvents to penetrate and liquefy the grease.
Scrub with a non-abrasive sponge, again following the metal's grain.
Rinse the sink extremely thoroughly with hot water. Residue from a powerful kitchen grease cleaner can be slippery and may affect the finish if left behind.
Dry and buff completely with a clean cloth.
Pro Tips for a Flawless Finish and Prevention
Weekly Maintenance: Incorporate a quick wipe-down with a mild all-purpose kitchen cleaner or the DIY paste into your weekly routine to prevent heavy buildup.
Post-Cooking Protocol: Make it a habit to rinse oily pots and pans with hot water and dish soap in a separate basin before placing them in the sink, minimizing direct grease transfer.
The Final Rinse & Dry: After any cleaning, a final rinse with a 50/50 solution of white vinegar and water can help remove any leftover film and enhance shine. Drying is non-negotiable—it is the single best step to prevent water spots and maintain a streak-free, professional appearance.
Avoid Common Pitfalls: Never use steel wool, chlorine bleach, or abrasive cleansers like conventional scouring powder, as they will permanently scratch and dull the stainless steel surface.
Keeping your stainless steel sink free from grease is essential for both aesthetics and kitchen hygiene. By understanding the nature of the problem and choosing the right tool—be it a simple, effective baking soda paste or a specialized commercial kitchen sink degreaser—you can effortlessly tackle grease buildup. The key steps are universal: apply your chosen kitchen grease remover, allow it adequate dwell time to work, scrub gently with the grain, rinse thoroughly, and always dry completely. By integrating these methods into your cleaning regimen, you ensure your stainless steel sink remains a spotless, gleaming, and sanitary focal point of your kitchen for years to come.

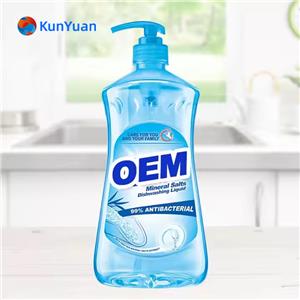
kitchen sink degreaser
kitchen grease cleaner