How to Clean Greasy Kitchen Walls: A Professional Step-by-Step Guide
Greasy kitchen walls are an inevitable byproduct of cooking, but they don't have to be a permanent eyesore or hygiene concern. Accumulated grease not only looks unsightly but can also attract dust, pests, and become a fire hazard if left unchecked near heat sources. Tackling this task effectively requires more than just a standard wipe-down; it demands a strategic approach with the right tools and cleaning agents. This comprehensive guide will walk you through the professional method to restore your walls to a clean, grease-free state using the appropriate kitchen cleaner .
1
Assessment, Preparation, and Gathering Supplies
Before beginning, assess the wall's surface. Is it painted, tiled, or covered with a washable wallpaper? The material dictates the cleaning method's aggressiveness. Always test your chosen kitchen grease cleaner in an inconspicuous area first to check for any adverse effects like discoloration or paint damage.
Prepare the area by removing any nearby appliances, wall decor, or switch plates. Protect the floor and countertops with drop cloths or old newspapers. Ventilate the room by opening windows.
You will need:
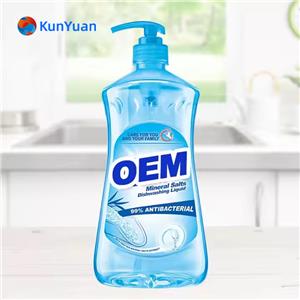
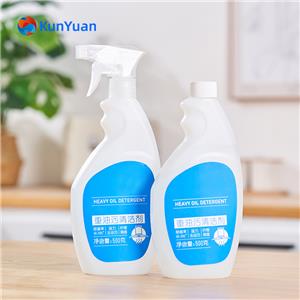
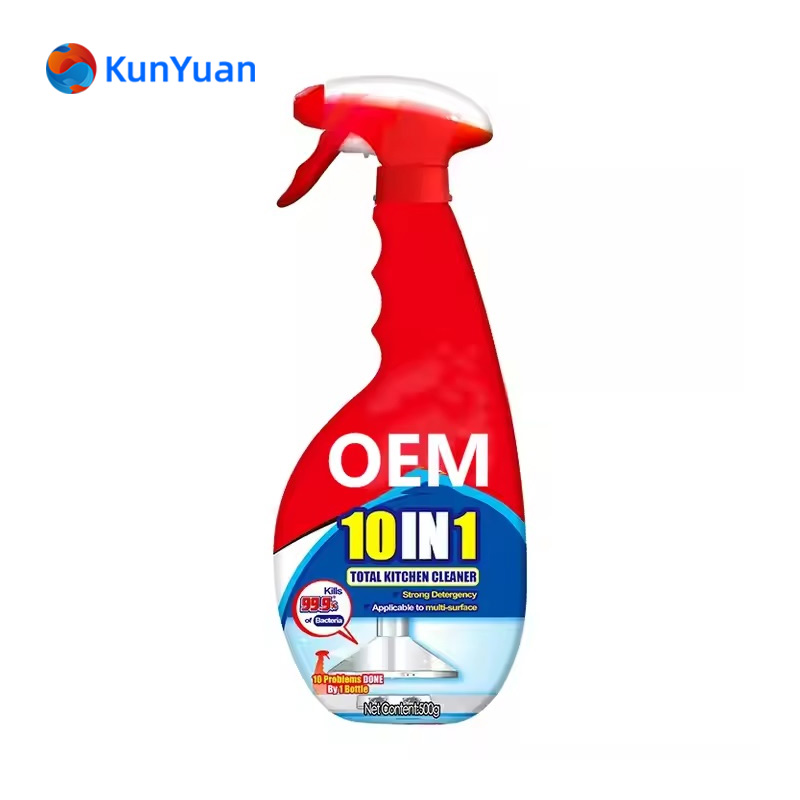
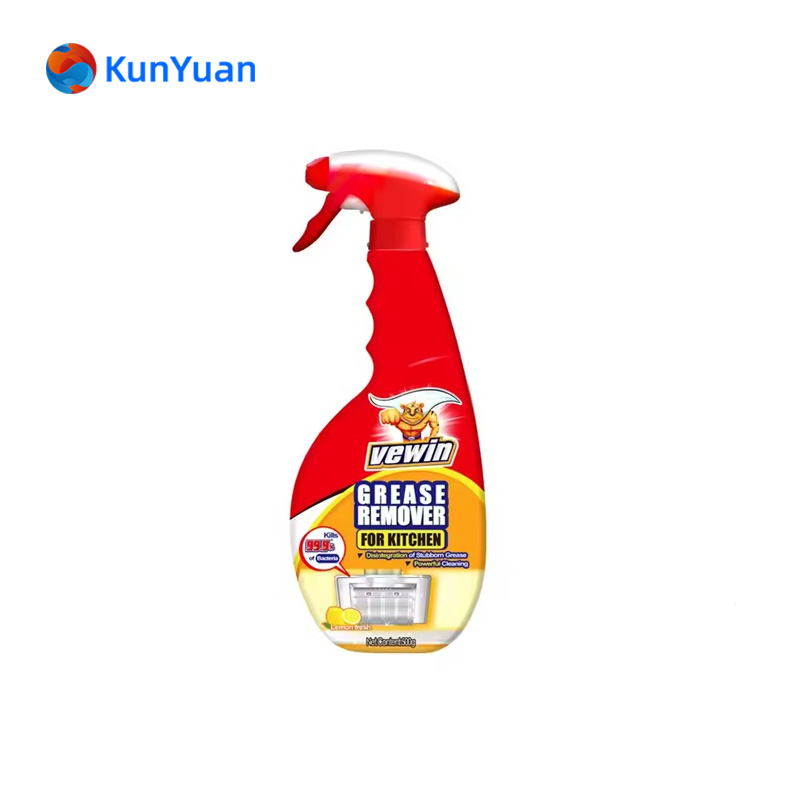
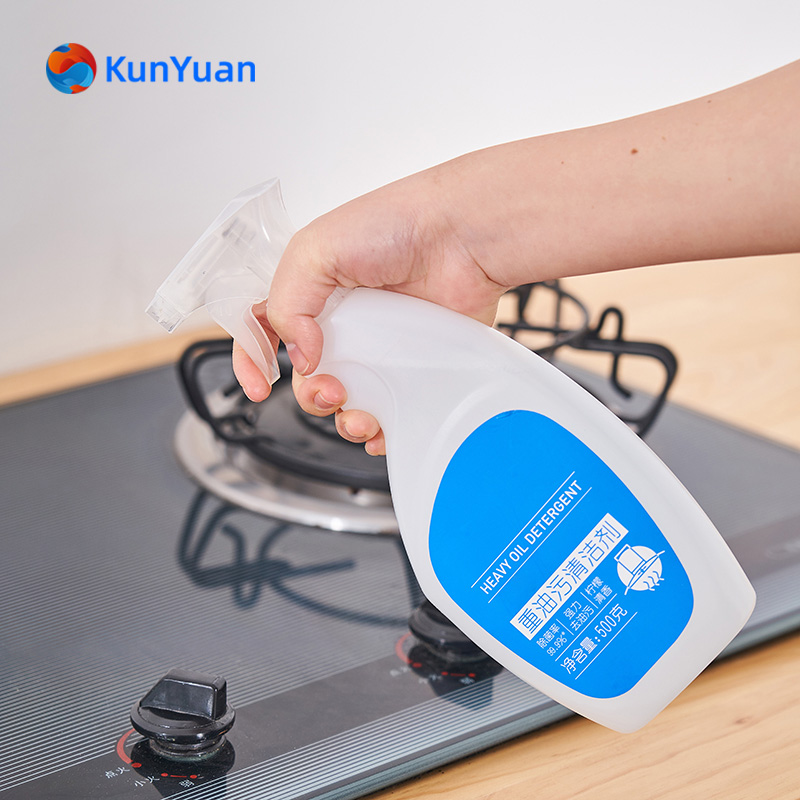
A heavy-duty kitchen grease remover spray or a concentrated all-purpose kitchen degreaser.
A bucket of hot water.
White vinegar (for a natural alternative or rinse).
Microfiber cloths or reusable cleaning rags (avoid abrasive scrubbers on painted surfaces).
A soft-bristled brush or a non-scratch scrubbing sponge.
A sturdy step stool or ladder for safe reach.
A separate, gentle degreaser for cabinets for cleaning any adjoining cabinet exteriors without damaging their finish.
2
The Degreasing Process: Application and Dwell Time
Do not simply spray and wipe. The key to dissolving polymerized grease is dwell time. Generously apply your chosen kitchen degreaser to the greasy sections of the wall. For commercially available products, follow the label instructions. For a heavy homemade solution, a mixture of hot water, a few drops of dish soap, and a half-cup of white vinegar can be effective for light grease.
Allow the solution to dwell on the surface for 5 to 10 minutes. This is critical. The chemicals in the kitchen grease cleaner need time to penetrate and break down the sticky, often baked-on, grease molecules. You should see the grease start to dissolve and drip. Avoid letting the solution dry completely, as this can redeposit the grease.
kitchen cleaner
kitchen cleaner
3
Agitation, Wiping, and Rinsing
After the dwell time, take your soft-bristled brush or non-abrasive sponge and gently agitate the area. Use circular motions, starting from the bottom and working upwards to prevent streaking. For stubborn, textured surfaces or grout lines between tiles, the brush will help dislodge the grease.
Immediately wipe the area clean with a damp microfiber cloth, rinsing the cloth frequently in your bucket of hot water. It is crucial to rinse thoroughly. Residual kitchen grease remover can leave a sticky film that will attract more dirt. For a final rinse, go over the wall with a cloth dampened with clean water or a diluted vinegar solution (1 part vinegar to 3 parts water) to cut through any leftover soapy residue and promote shine, especially on tiles.
4
Addressing Cabinets and Final Touches
Grease doesn't stop at the walls; it coats everything nearby. Use a dedicated, non-abrasive degreaser for cabinets to clean the exterior faces of any surrounding cabinetry. Spray it onto a cloth first, then wipe to control the amount of liquid and prevent damage to the wood or laminate finish.
Once the walls and cabinets are clean and fully dry, replace all switch plates, artwork, and appliances. This is also an opportune time to clean your light fixtures and vent covers, as grease also accumulates there.
5
Prevention and Maintenance
To make future cleanings easier, establish a routine. Wipe down splatter-prone wall areas near the stove weekly with a multipurpose kitchen cleaner or a damp cloth. Consider installing a durable backsplash made of glass, stainless steel, or easy-to-clean tiles behind your stove. Using a splatter screen while frying and ensuring your range hood vent is clean and functional will significantly reduce airborne grease.
kitchen degreaser

kitchen grease cleaner
Cleaning greasy kitchen walls is a manageable task with dramatic results when approached systematically. By using a potent kitchen degreaser, respecting the essential dwell time, agitating gently, and rinsing meticulously, you can effectively eliminate tough grease buildup. Remember to protect surrounding surfaces with a suitable degreaser for cabinets and adopt preventative habits. A consistent cleaning regimen using a reliable kitchen grease remover will maintain a healthier, brighter, and more pleasant cooking environment, proving that with the right kitchen cleaner strategy, even the most stubborn kitchen challenges can be solved.